Setup, Compatibility & Care
Initial Setup
- Charge the Battery: Ensure the detachable battery is fully charged before first use. Connect the charger to the battery and a power outlet until the charge indicator shows full.
- Assemble: Securely attach the handle to the main body of the cleaner until it clicks into place.
- Fill Clean Water Tank: Remove the clean water tank, fill it with clean water (and manufacturer-recommended cleaning solution if desired) up to the 'Max' line, and reattach it firmly.
- Power On: Press the power button to start the device. It may also respond to voice commands once powered on.
Compatibility
This cleaner is designed for versatility, compatible with a wide range of floor types:
- Hard Floors: Wood, laminate, tile, stone, vinyl.
- Soft Surfaces: Can be used to freshen up carpets and rugs (not intended for deep carpet cleaning).
Care & Maintenance
- Empty Dirty Water Tank: After each use, always empty the dirty water tank. Rinse it thoroughly with clean water to prevent odors and buildup.
- Engage Self-Cleaning Mode: Place the cleaner on its charging dock (if applicable) or a designated self-clean station, and activate the self-cleaning cycle. This helps clean the brush roll and internal pathways.
- Brush Roll Inspection: Periodically check the brush roll for tangled hair or debris. Remove any obstructions manually to maintain optimal cleaning performance.
- Battery Care: Ensure the detachable battery is charged when not in use. Store the battery and unit in a cool, dry place. Avoid fully discharging the battery frequently to prolong its lifespan.
- External Cleaning: Wipe down the exterior of the unit with a damp cloth as needed to keep it clean.

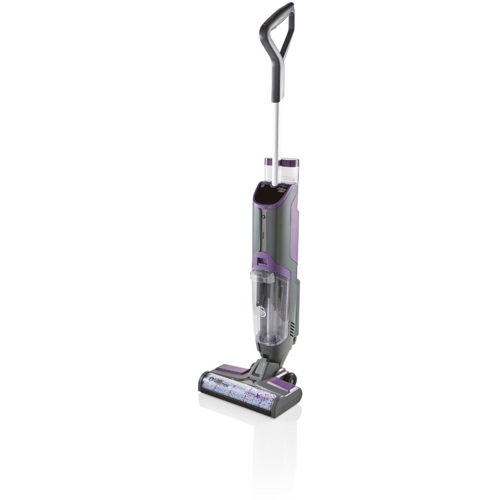
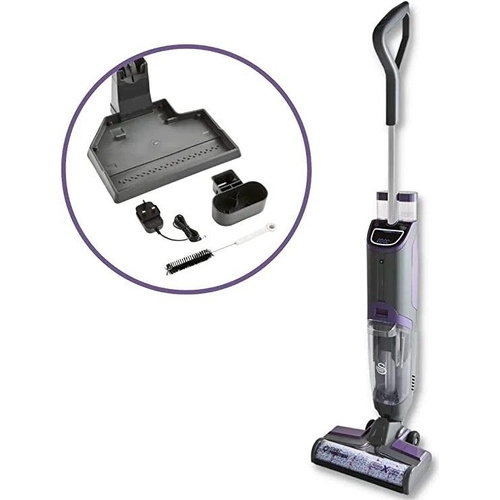
 Debenhams£149.99Visit shop


